ListLens journal · Photography
Jewelry Photo Editing: What to Fix, What to Leave Alone
A phone photo can make good jewellery look dull, orange or lost in a cluttered background. Jewelry photo editing can help buyers see the piece clearly, but it should never make the piece look like something they won’t receive. A useful rule is simple: fix what distracts from the jewellery; leave its colour, shape, condition and details true.
By ListLens ·
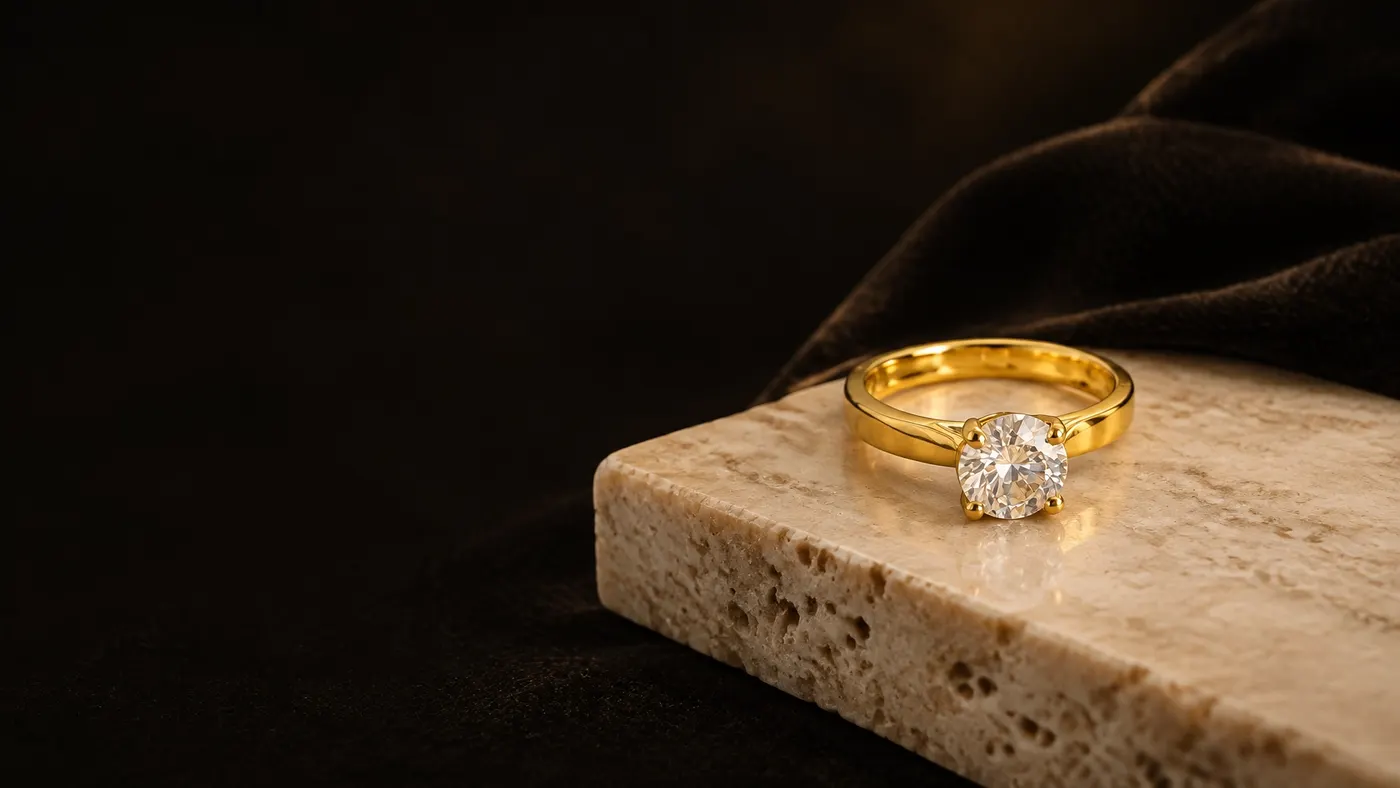
Quick answer: what’s safe to edit?
- Gently adjust exposure and white balance so the piece is clear and its colours look like they do in person.
- Straighten and crop the photo, remove background clutter, and clean up dust that came from the shoot.
- Use light sharpening to clarify detail, not to invent sparkle or alter the jewellery.
- Don’t change a gemstone’s colour, hide a flaw, alter proportions, remove hallmarks or add details that aren’t there.
- Keep the original file. Before publishing, compare the edit against the real item and your original photo, including at zoom.
- Check the current image rules for the marketplace where you’re listing.
The guiding test for any edit is: does this help a buyer see the jewellery, or does it change what the jewellery is?
Safe jewelry photo editing: what to fix and where to stop
If you only remember one thing from this guide: fix the photograph, never the jewellery.
Brightness and exposure
A small exposure adjustment can lift a dim image and reveal details in a ring setting or earring clasp. Brighten gradually, checking that the metal still has visible highlights and shadows.
If you push exposure too far, pale stones can lose their facets and polished metal can turn into a flat white patch. The goal is a clearer view, not a brighter-looking product than the one on your desk.
White balance and colour cast
Indoor bulbs can make gold look orange and silver look grey, yellow or blue. Correcting the colour cast can bring the metal closer to its real appearance. Compare the result with the piece under neutral daylight if possible, rather than relying only on the colour you see on one screen.
Don’t use white balance as a way to change the metal type. Yellow gold should still look like yellow gold; silver should still look like silver. If a correction makes the metal look unlike the actual piece, ease it back.
Straightening and cropping
A slight rotation can make a necklace or ring look properly aligned. A tighter crop can draw attention to the piece and remove unused space. Leave enough room around the jewellery for marketplace thumbnails to crop without cutting off a chain, earring or ring band.
Cropping is not the same as changing scale. Don’t stretch or distort a photo to make a band look thicker or a stone look larger.
Dust and smudge cleanup
Dust on the background, lint near a chain or a fingerprint left by handling can distract from the item. It’s reasonable to remove these shooting distractions if they aren’t part of the jewellery or its condition.
Be careful around the piece itself. A scratch, chip or mark that a buyer would see is not a speck of dust to retouch away. When in doubt, clean the item before photographing it and show its actual condition.
Sharpening
A modest sharpening adjustment can help a phone image look clearer, especially around a stone or clasp. Zoom in as you work, then check the whole image again.
Over-sharpening can create bright or dark halos around edges, including around delicate prongs. It can also make metal texture look harsh or create the impression of details that aren’t really visible. If you notice halos, reduce the effect.
Background cleanup
You can tidy distractions around a piece so the buyer’s attention stays on the jewellery. Keep the edges natural: chains, prongs and small stones should remain intact, without a fuzzy outline or a cut-out look.
A plain background can make a listing image easier to read, but it should not make the jewellery appear different. If you use an edited background, keep a separate, unedited photo where the marketplace requires one.
Edits to leave alone
These changes can mislead a buyer because they alter the product or its condition:
- Recolouring a gemstone. Correct a colour cast if the photo is inaccurate, but don’t turn a pale stone into a vivid gem or shift its hue to match a more desirable colour.
- Erasing real flaws. Don’t hide chips, scratches, worn plating or other condition details a buyer would reasonably expect to see.
- Changing size or proportions. Don’t enlarge a stone, thicken a band or reshape a piece.
- Removing hallmarks or engravings. These are part of the item and may matter to a buyer.
- Compositing the jewellery onto a model. Don’t create a worn image that suggests a fit, scale or appearance you haven’t actually photographed.
- Using a render that invents details. If an edit adds prongs, changes a setting or alters the shape of a stone, don’t use it as a product image.
A polished image is useful only if it remains a truthful one.
An honest workflow for editing jewellery photos
- Start with the best source photo you can. Wipe the piece gently, use soft window light and place a white card opposite the light to lift shadows. Keep the phone steady. Our guide to photographing jewellery walks through the basics.
- Make small edits. Try exposure and white balance first, then crop, straighten and tidy the background. Avoid stacking lots of filters or effects.
- Keep the original file. Save a separate edited copy so you can check what changed and return to the source.
- Compare side by side at zoom. Check the metal tone, gemstone colour, prongs, setting, engravings and edges. Compare them with the original photo and, where possible, the real piece.
- Check the listing rules before you publish. Etsy currently requires at least one unedited photo of the actual item against a real background for most items. Its guidance allows edits to other photos when they accurately represent what buyers will receive. Rules can change, so check the current requirements for Etsy, Shopify or Amazon before listing.
A gold ring under a warm bulb: a worked example
Imagine a gold ring photographed on a wooden table under a warm household bulb. The image looks orange, the table fills most of the frame, and a few dust marks show on the surface.
First, adjust the white balance gently until the gold looks closer to the ring in neutral light. Lift the exposure just enough to see the setting clearly, straighten the frame, then crop away some of the empty table. Remove dust from the background if it distracts. Stop if the ring’s colour begins to look different from the real piece, and don’t smooth out a genuine mark or change the stone or prongs.
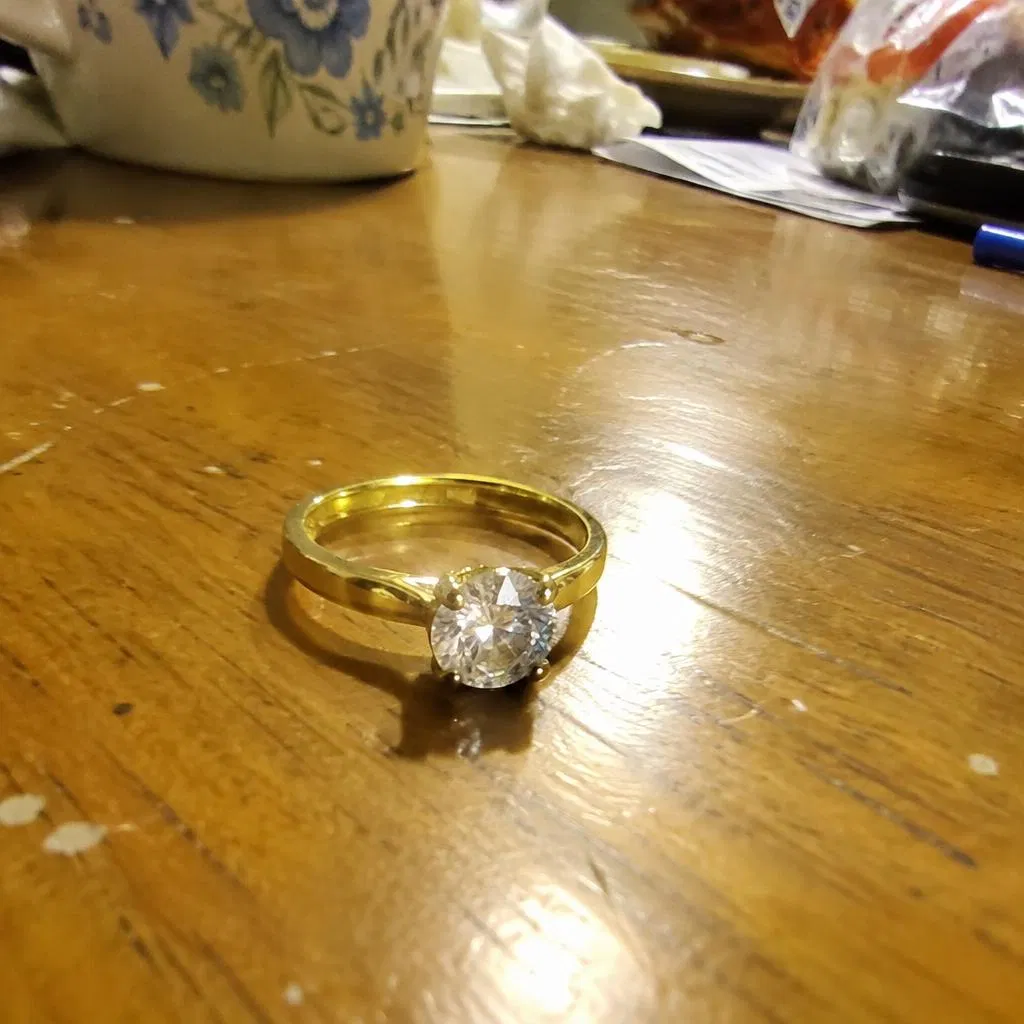
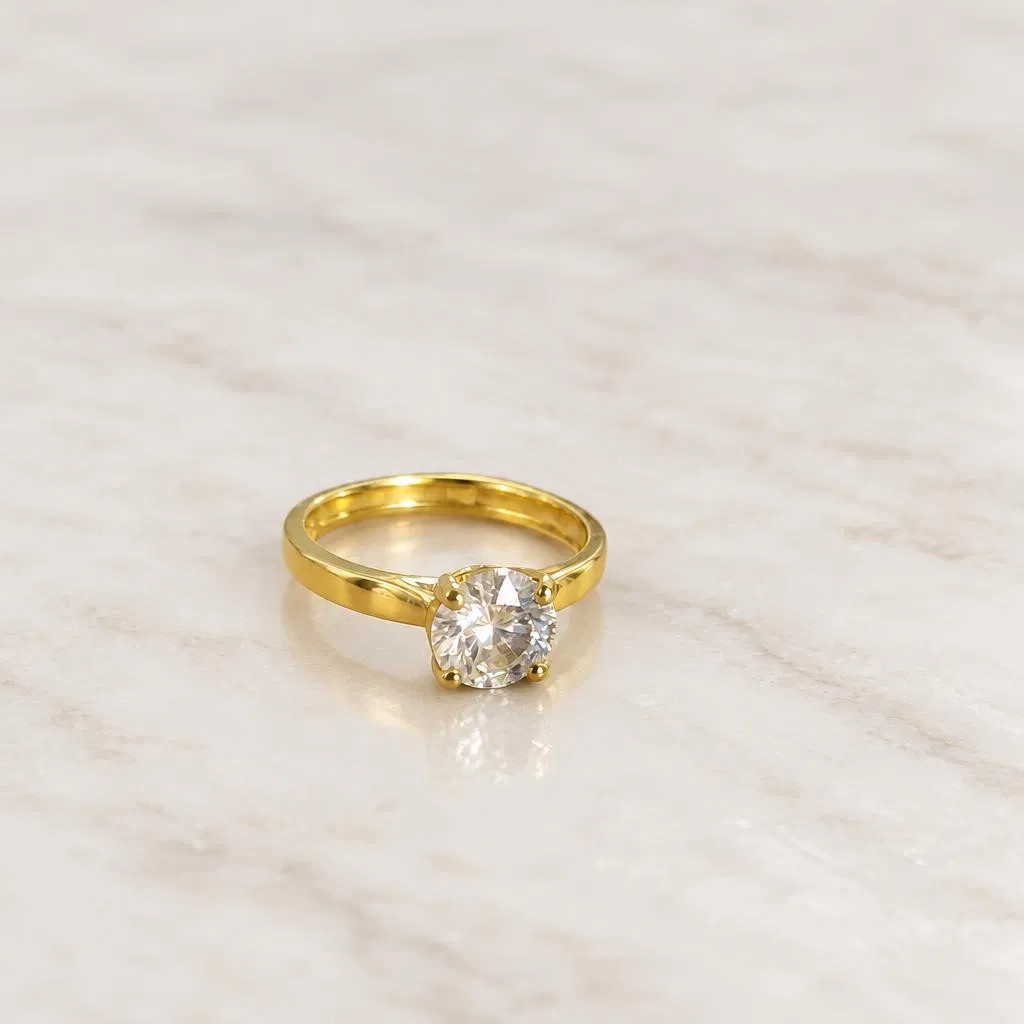
The cleaner version can be easier to inspect, but appearance alone is not proof of accuracy. Compare the edited photo with the ring and the original file before using it.
Which tools should you use?
Our jewellery product photography workflow covers consistent images across a collection. For basic crops, rotation and exposure, a phone’s built-in editor or a simple jewelry photo editing app may be enough. Desktop editing software can offer more precise colour and cleanup controls if you’re comfortable working at a larger screen and zooming in on fine details.
An AI jewellery studio can be useful when you want consistent lighting, backgrounds or crops across a group of listings. ListLens has controls for metal tone; gemstone colour picked from the original photo, with inspection zoom; and lighting, shadow softness and reflections. You can keep the original background or match the jewellery pixels, or choose velvet, linen, travertine or pure white as a staging surface. It also offers marketplace crops for Etsy, Shopify and Amazon, batch processing, ZIP and WebP exports, and side-by-side comparison with the original.
AI edits can still need careful review. Check the output against the source at zoom, especially around stones, prongs and fine chains. ListLens offers three free renders with no card needed; after that, plans start at $15/month USD for 30 renders. See the studio if you want to try a render with your own photo.
FAQ
Can I edit jewelry photos for Etsy?
Yes, but Etsy’s current guidance requires at least one unedited photo of the actual item against a real background for most items. Other images may be edited, including with AI, as long as they accurately represent what the buyer will receive. Check Etsy’s current image guidance before publishing.
Is it OK to change the colour of a gemstone in a photo?
Don’t change the stone’s actual colour. You can correct a colour cast that makes the photo inaccurate, but the final image should still match the gemstone you’re selling.
Why does my gold jewellery look orange in photos?
Warm indoor bulbs can cast an orange tint across the whole image. Try soft window light when you shoot, then use a modest white-balance correction and compare the result with the real piece.
How much editing is too much?
Editing has gone too far when the image changes the jewellery’s colour, shape, scale, details or condition, or hides something a buyer would see. If you’re unsure, compare the edit with the original at zoom and choose the more honest version.
For more guidance on better product images, browse the ListLens blog. Then review your next edit with one question in mind: does it help someone see the piece clearly, without changing what they’re buying?