ListLens journal · Photography
Bracelet Photography: How to Shoot Bracelets and Bangles With a Phone
Bracelet photography can be awkward: a chain bracelet has no obvious front, and a bangle can turn into a bright stripe of glare. The key is to remember that you’re photographing a circle. Help that circle read clearly, keep the clasp honest, and include a photo that gives shoppers a sense of scale.
By ListLens ·
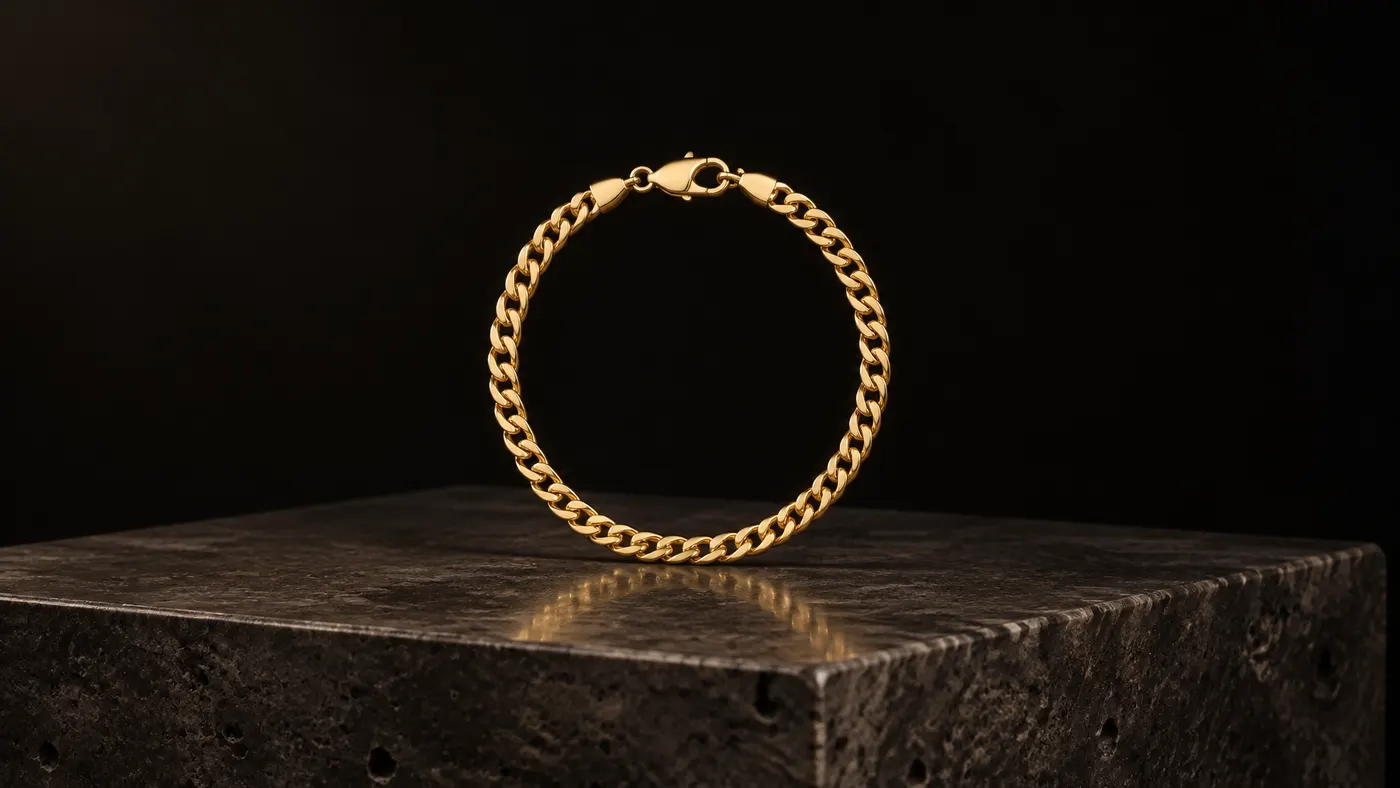
Quick answer: how to photograph bracelets
- Take four useful shots: an upright circle, a curved flat lay, a clasp and hallmark close-up, and an on-wrist photo for scale.
- Use a simple support to keep a flexible bracelet from collapsing into a line. Choose one that won’t distract from the piece.
- Start with a plain, matte background. It makes the bracelet easier to see and avoids competing reflections.
- For a round-looking upright shot, place your phone at the bracelet’s height rather than looking down from above.
- Don’t edit the bracelet into a shape it doesn’t have. Never fake a round shape or remove the clasp.
Why bracelets can be hard to photograph
A ring or pendant has a natural face to point at the camera. A bracelet is different: it’s a shape with an opening, a curve and often a clasp. That can make it harder to show what it actually looks like.
- A flexible bracelet collapses into a line. Without support, a chain can fall flat or bunch up, hiding its shape.
- There’s no obvious front face. A top-down photo may show the bracelet, but not its thickness, movement or how it sits on a wrist.
- A gaping clasp breaks the curve. A loose or twisted fastener can make the bracelet look damaged, even if it isn’t.
- Polished bangles reflect large bright areas. A single hard reflection can hide the finish and detail.
Aim to show the curve, the construction and the scale of the piece, rather than forcing every bracelet into the same pose. For more general phone setup advice, see our guide to how to photograph jewellery.
Set up a simple phone photo
You don’t need a studio. Start near a window with indirect daylight, and turn off other lights if they add a different colour to the scene. Place a piece of white card on the shadow side of the bracelet to bounce some light back onto the darker details.
Use a clean, plain background: white, light grey, muted stone or a dark matte surface can all work. Choose a colour that helps your metal and stones stand out. Avoid busy patterns, which can compete with fine links and small clasps.
For a flexible bracelet, try an everyday support:
- A rolled pair of socks inside a cuff can hold a soft bracelet’s curve. The socks stay out of view if they’re fully hidden.
- A paper towel tube is useful for draping a chain around. It may show, so cover it with plain paper or keep it behind the bracelet.
- A clean glass can support a bracelet vertically, but watch for reflections and make sure the glass isn’t distracting.
- A cuff roll gives a neat, display-like curve. It will be visible, so use one only if it suits the image.
- Blu-tack can hold a clasp or bangle in position. Use a tiny amount behind the piece, where it won’t show.
- Invisible thread can help suspend a lightweight bracelet, but it may catch the light. Check the image closely before using the shot.
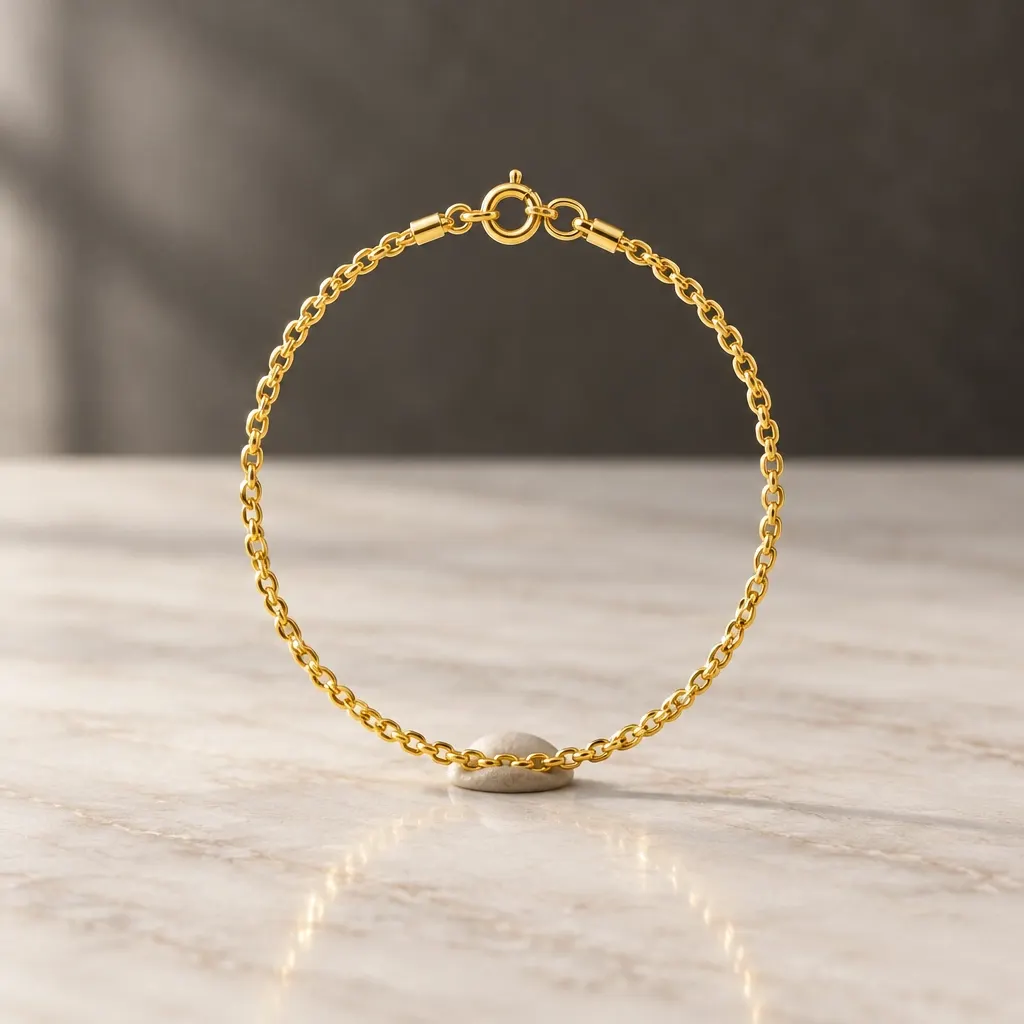
A phone stand or stack of books can keep the camera steady. Tap the bracelet on screen to focus, then take a few versions of each shot. Wipe the camera lens and the jewellery first; dust and fingerprints are easy to miss until you zoom in.
The four-shot bracelet photo set
1. Upright circle
This is the shot that makes the bracelet’s shape clear. Support it so the circle stays open, and check that the clasp is closed or shown in its real position.
Keep your phone at roughly the bracelet’s height. If you photograph from above, the circle can look squashed into an oval. A little putty behind the bracelet or hidden support can steady it, but don’t retouch the outline into a shape the piece doesn’t naturally hold.
2. Curved bracelet flat lay
A bracelet flat lay is useful for showing the full length and details, but avoid arranging a chain as a straight line across the frame. It can stop reading as a bracelet. Instead, arrange it into a relaxed oval or curve, with the clasp visible and the chain lying naturally.
Pins or small pieces of tape tucked under the surface can help hold a loose chain in position. Check that the arrangement doesn’t pull the links unnaturally tight or hide part of the design.
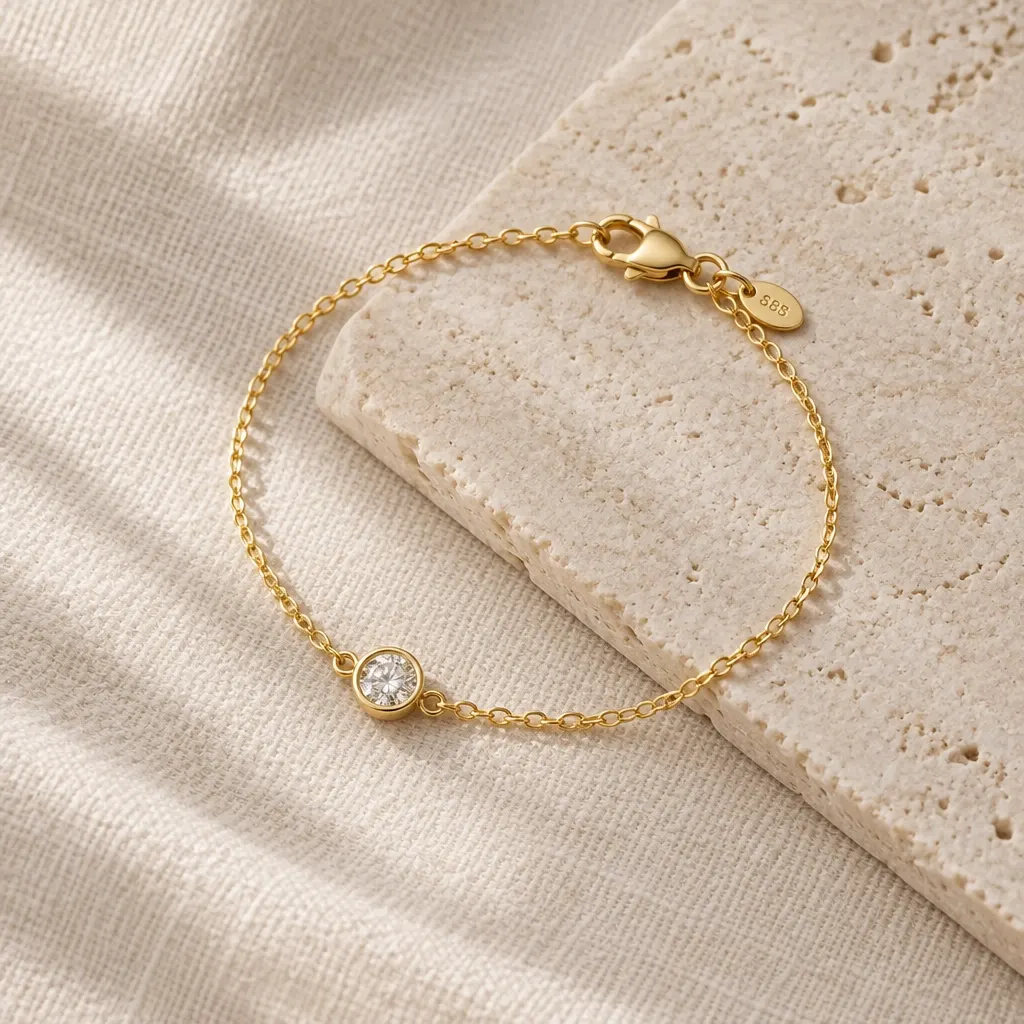
3. Clasp and hallmark close-up
Take a separate close-up of the clasp and any hallmark or maker’s mark. Buyers may look closely at these details to understand how the bracelet fastens and to inspect its finish.
Keep the detail sharp and in focus. If your phone struggles to focus very close, move back slightly and crop the photo later rather than letting the important detail blur.
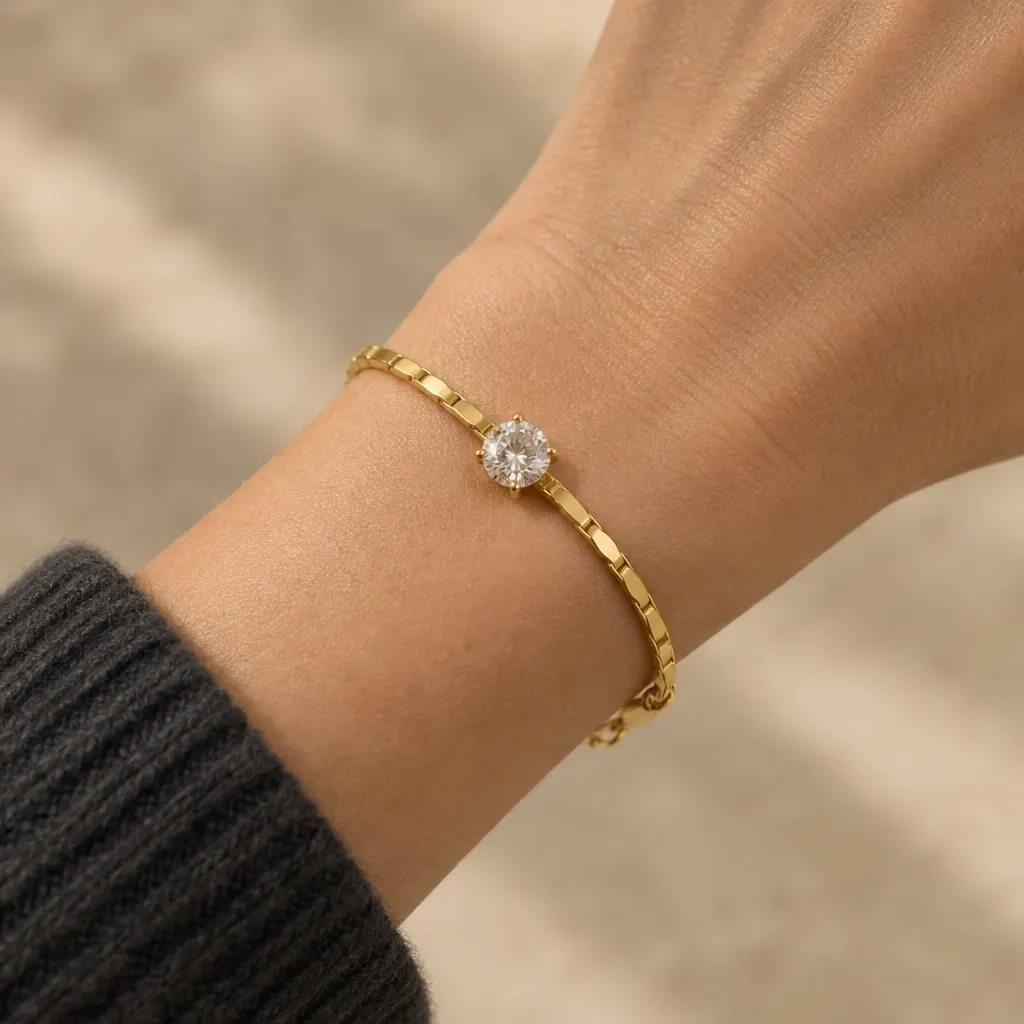
4. On-wrist photo for scale
A wrist shot helps shoppers judge how the bracelet sits and how substantial it looks. Keep the wrist relaxed and turn it slightly towards the camera so the bracelet is visible without twisting it out of position.
Avoid a pose that hides the clasp, stretches the bracelet tightly or makes the fit hard to judge. Keep the frame focused on the product; a cropped wrist and neutral background are usually enough.
Bangle photography and cuffs
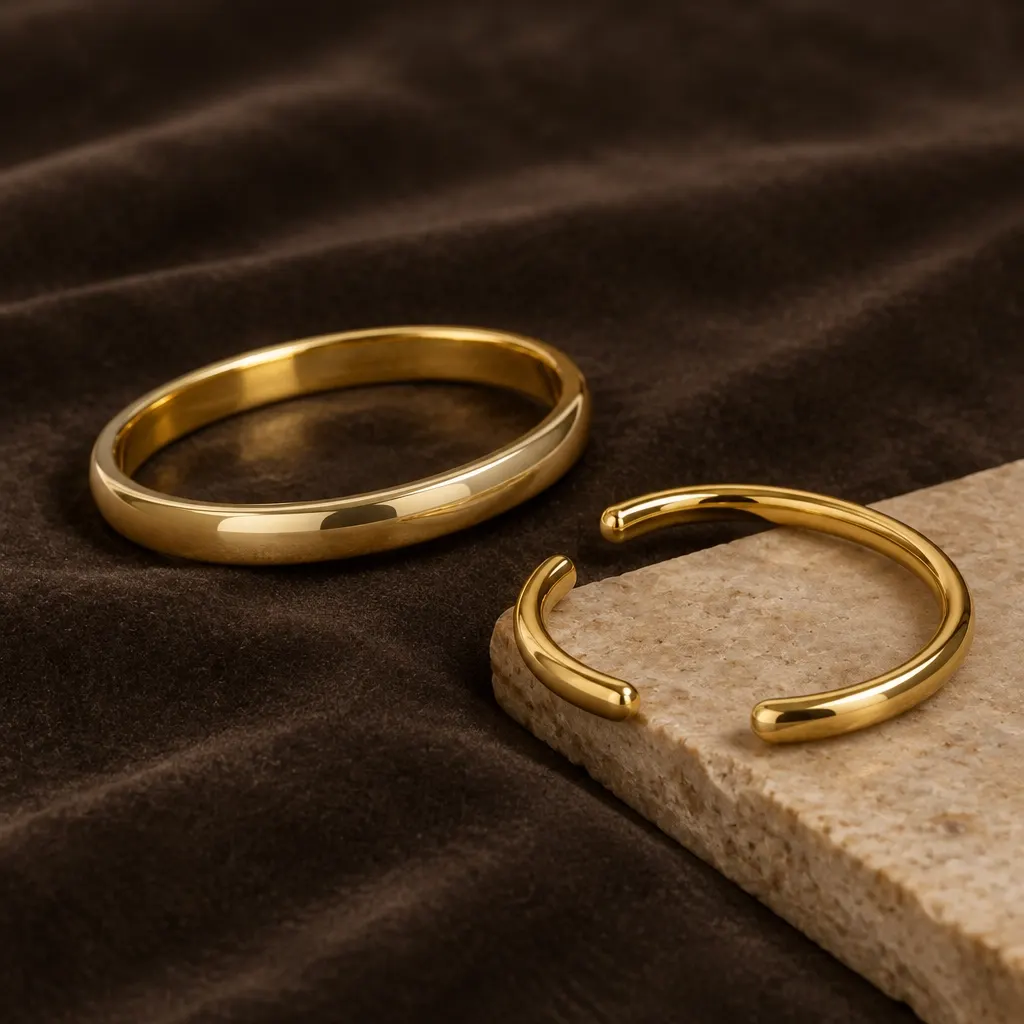
Rigid bangles hold their shape, but their polished surfaces can reflect a window or light source as a hard stripe. Use soft window light and a larger white card to create a broader, gentler reflection. If the reflection still hides the finish, move the card or rotate the bangle slightly.
Photograph a bangle upright or at a slight angle to show its opening and thickness. A second view from above can help shoppers understand its shape. Don’t let an edge crop make the bangle appear cut off.
A cuff is open by design. Show that opening clearly, and position the ends so the cuff looks balanced rather than broken. A three-quarter angle can show its curve and thickness; a close-up can show the finish at the ends. Keep the cuff’s opening as it is: don’t close it up in editing.
Editing, crops and listing images
Keep edits practical: crop and straighten the image so the bracelet sits level, and clean up visible dust. Don’t fake a round shape, remove a clasp or hide a detail that changes how the bracelet looks. Keep at least one photo honest to the piece as it is, and check Etsy’s current image guidance before publishing.
Etsy, Shopify and Amazon may display images in different shapes. A careless crop can cut into a circular bracelet or make its curve look uneven. Keep the whole piece in frame, prepare crops for the platforms where you sell, and check each platform’s current image rules rather than relying on old size advice.
If you use an editing tool, compare the result side by side with your original photo before publishing. ListLens is an AI jewellery photo studio with metal-tone controls, gemstone colour reference picked from the original photo and inspection zoom, plus lighting and reflection settings. It also offers staging surfaces, marketplace crops, batch processing and ZIP or WebP exports. AI edits may change details, so check the image against the actual piece.
For more editing advice, read our guide to jewellery photo editing. You can try three free renders with no card needed; after that, ListLens plans start at $15 a month USD. Get started with ListLens.
FAQ
How do you photograph a bracelet so it looks round?
Support it in an upright circle and photograph it at the bracelet’s height, not from above. Keep the clasp closed and in its real position, and check that the support isn’t visible or distracting.
What is the best background for bracelet photos?
A plain, matte background is a reliable starting point. Choose white, grey, stone or a dark neutral that gives the bracelet enough contrast, and avoid patterns that compete with small details.
How do you photograph a bangle without glare?
Use soft, indirect window light and a larger white card to create a broad reflection rather than a sharp hotspot. Adjust the card or turn the bangle until the reflection no longer hides the finish.
Can you photograph bracelets with a phone?
Yes. Use window light, a steady phone and a simple support to hold the bracelet’s shape. Take the four key views (upright circle, flat lay, clasp detail and on-wrist scale) then check the images against the real piece before listing.